

If you own a home pool, you’ve likely experienced the frustration of reaching the wall just as you hit your stride. Short pools make continuous swimming nearly impossible, turning what should be an invigorating workout into a repetitive cycle of push-offs and turns. A pool swim jet changes everything. By generating a powerful, adjustable current directly in your pool, a swim jet lets you swim in place indefinitely—no flip turns, no interruptions, just smooth, continuous strokes against flowing water. Whether you’re training for competition, building endurance, or simply want your family to enjoy a more dynamic pool experience, a well-designed swim jet delivers the resistance and versatility that transform an ordinary backyard pool into a serious aquatic fitness center. This guide walks you through the complete process of selecting, installing, and using a swim jet effectively. You’ll learn how to prepare your pool, handle the installation step by step, optimize your training sessions, and maintain the system for years of reliable performance.
What is a Pool Swim Jet and Why You Need One
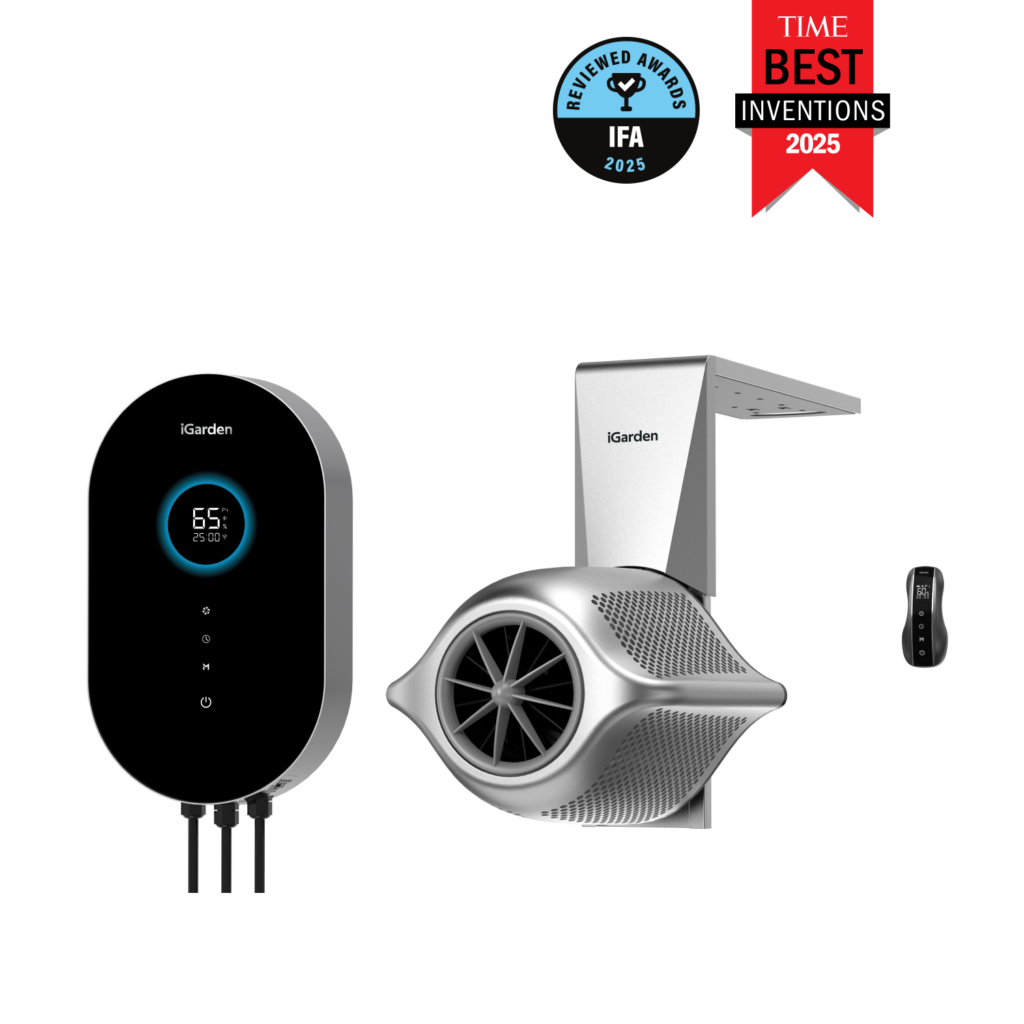
A pool swim jet—sometimes called a wave generator—is a specialized device that produces a strong, controllable current of water directly in your swimming pool. Unlike standard return jets built into pool walls for circulation and filtration, a swim jet generates a wide, powerful stream specifically designed to let you swim against continuous resistance without moving forward. Think of it as a treadmill for swimmers: you stay in one spot while the water flows past you at whatever intensity you choose. For homeowners, the benefits are immediate and practical. You gain the ability to perform real swimming training—building cardiovascular endurance, refining stroke technique, and burning calories—without needing a full-length lap pool. Beyond fitness, a swim jet adds recreational value for the whole family, creating river-like currents for play and relaxation. It’s a powerful solution that maximizes every square foot of your existing pool.
Preparing for Your Swim Jet Installation
Successful swim jet installation starts well before you pick up a wrench. Proper preparation prevents costly mistakes and ensures your system performs reliably from day one. Begin by assessing your pool’s compatibility. Most swim jets work with concrete, fiberglass, and vinyl-liner pools, but the mounting method differs for each type. Measure your pool dimensions to confirm adequate space—you’ll need at least eight feet of unobstructed swimming lane in front of the jet’s output. Next, select the right model for your needs. Consider how you’ll primarily use the current when choosing your configuration—whether for fitness-focused training or family recreation. Gather your tools and materials ahead of time: a drill with masonry or appropriate bits, PVC plumbing fittings, Teflon tape, silicone sealant, and basic wrenches. Finally, check local building codes and electrical regulations. Many municipalities require permits for permanent pool modifications or dedicated electrical circuits, so contact your local authority before starting work.
See also: Techasia24.in business, Key Features, Benefits, Tech sector Solutions
Key Considerations for Pool Jets and Safety
Electrical requirements deserve careful attention. A swim jet typically needs a dedicated 220-240V circuit with adequate amperage, and the power source must be within reasonable distance of the installation point. If your electrical panel lacks capacity or the run is excessively long, hire a licensed electrician to add a circuit before installation day. Ensure the area around your chosen mounting location allows proper drainage—water splashing near electrical connections creates serious hazards, so position components where poolside drainage directs water away from junction boxes. Leave enough clearance around the unit for future maintenance access; you’ll need to reach filters, connections, and the pump housing periodically. Review all safety guidelines included with your swim jet, paying particular attention to GFCI protection requirements, grounding specifications, and minimum water depth for safe operation. If children will use the pool, consider the jet’s suction points and install appropriate covers or guards to prevent entrapment. Taking these precautions addresses the most common homeowner concerns and sets the foundation for a trouble-free installation.
Step-by-Step Guide to Installing Your Swim Jet
With preparation complete, you’re ready to install your swim jet. Start by unpacking the unit carefully and inspecting every component against the manufacturer’s parts list. Check for shipping damage—cracked housings, kinked hoses, or missing hardware should be addressed before proceeding. Lay out all components in order so you can visualize the assembly sequence and confirm nothing is missing. Position the main unit at your chosen mounting location without fastening it first. Have a helper hold it in place while you verify alignment from the swimming position. The jet nozzle should aim straight down the longest unobstructed section of your pool, roughly at chest height for the primary swimmer. Once you’re satisfied with placement, mark your mounting holes and prepare for permanent installation. A common mistake is rushing through positioning—spending an extra fifteen minutes here prevents discovering alignment problems after everything is bolted down and plumbed.
Mounting and Plumbing Connections for Pool Jets
Precise positioning determines how well your swim jet performs. The nozzle output should sit between 12 and 18 inches below the waterline to produce a smooth, laminar current rather than surface turbulence that disrupts your stroke. For concrete pools, drill mounting holes using a masonry bit and secure the unit with stainless steel anchors rated for underwater use. Fiberglass pools require backing plates to distribute load and prevent cracking, while vinyl-liner installations typically use through-wall fittings with compression gaskets to maintain the liner’s integrity. Once mounted, connect the plumbing. Run PVC pipe or reinforced flexible hose from the pump outlet to the jet assembly, using Teflon tape on all threaded connections and PVC cement on slip fittings. Ensure all joints are fully seated and allow adequate curing time before pressurizing the system. If you’re tying into existing pool jets or return lines for supplemental circulation, install isolation valves so you can service the swim jet independently without shutting down your main filtration system. Support all horizontal pipe runs with hangers or straps to prevent sagging that could stress connections over time.
Electrical Setup and System Integration
Electrical work requires precision and strict adherence to safety codes. Run the dedicated 220-240V circuit from your electrical panel to a weatherproof disconnect switch located within sight of the swim jet—this allows you to cut power quickly during emergencies or maintenance. All outdoor wiring must be housed in appropriate conduit, and the circuit must include GFCI protection as required by the National Electrical Code for pool equipment. Connect the power supply to the swim jet’s control panel following the manufacturer’s wiring diagram exactly. The control unit manages variable speed settings and typically mounts on the pool deck or a nearby wall where it stays dry but remains accessible. After completing all wiring connections, verify proper grounding with a multimeter before energizing the circuit. For initial testing, fill the system with water first—never run the pump dry. Turn the unit on at its lowest setting and check for leaks at every plumbing connection, unusual vibrations, or error codes on the control panel. Gradually increase the speed to confirm smooth operation across the full range. If your swim jet includes smart controls or remote operation features—a hallmark of iGarden‘s approach to integrating intelligent technology into outdoor living—pair those devices during this testing phase while you can easily access all components. Document your installation with photos of plumbing routes and electrical connections for future reference during maintenance.
Using Your Swim Jet for Effective Swimming Training
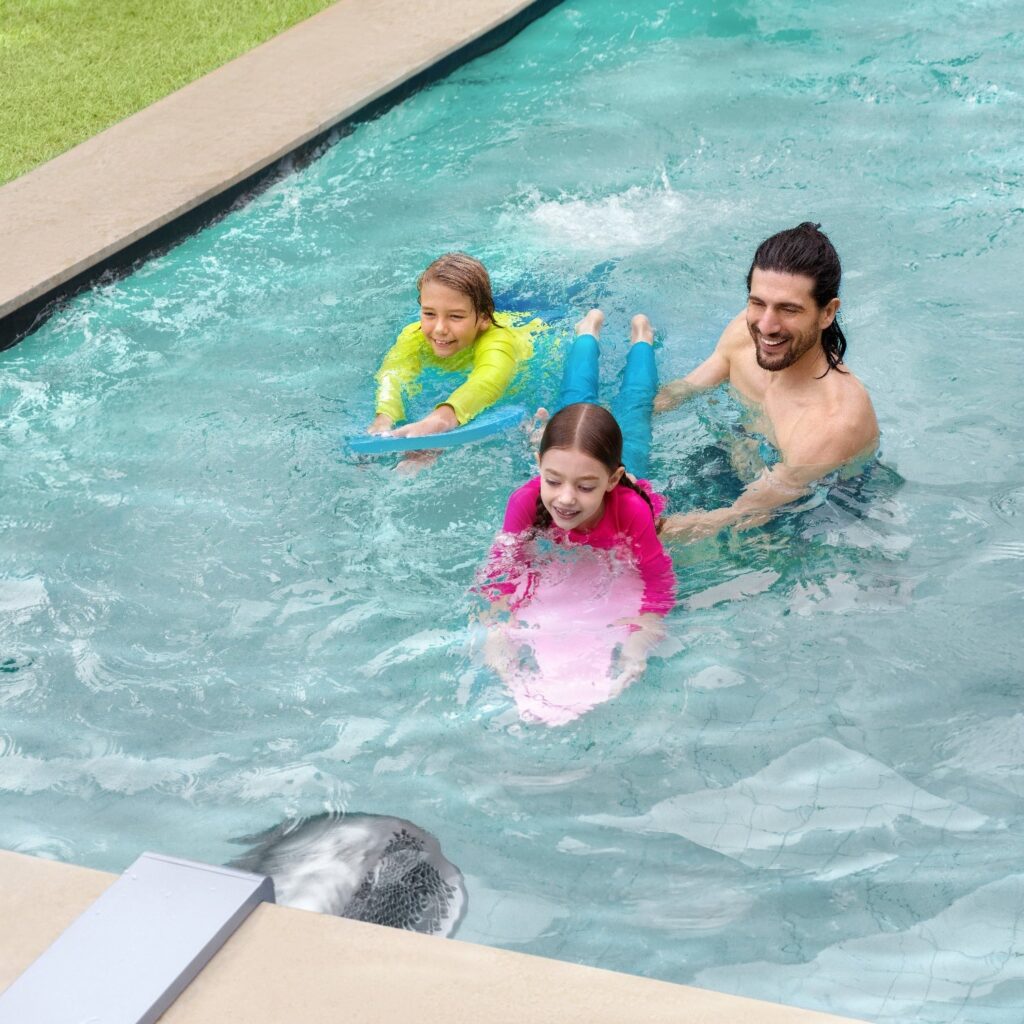
Once your swim jet is installed and tested, the real reward begins—using it to transform your pool into a versatile training and recreation environment. The key to effective swimming training lies in understanding how to manipulate the current to match your goals. Start at a lower speed setting during your first few sessions to acclimate your body to swimming against continuous resistance. Unlike pool laps where you get brief rests at each wall, a swim jet demands sustained effort, so your muscles and cardiovascular system need time to adapt. As your fitness improves, gradually increase the current intensity to challenge yourself further. Most swim jets offer variable speed controls that let you dial in precise resistance levels—use this to design structured workouts. Interval training works exceptionally well with a wave generator: alternate between high-intensity bursts at maximum current and active recovery periods at reduced flow. This approach builds both aerobic capacity and swimming-specific power more efficiently than steady-state laps. For families, lower settings create gentle currents perfect for children learning to swim or adults enjoying a relaxing float against moving water. The same device that pushes a competitive swimmer to their limits can provide playful river-like conditions for weekend recreation.
Optimizing Settings for Various Swimming Styles
Different strokes respond best to different current configurations. For freestyle, position yourself centrally in the jet’s flow and set the speed to a pace where you can maintain proper body rotation and bilateral breathing without being pushed backward. Your arm catch should feel loaded but not overwhelmed—if you’re losing ground, reduce the speed until your technique stays clean. Breaststroke swimmers benefit from slightly lower settings since the stroke’s glide phase creates natural deceleration; too much current during the glide forces compensatory movements that degrade form. Backstroke requires careful body positioning to stay aligned within the current’s width, so start slow and focus on keeping your hips high. Use the variable speed function to simulate open water conditions—gradually ramping intensity up and down mimics waves and changing currents you’d encounter in lakes or ocean swimming. For skill development, incorporate targeted drills at moderate flow: single-arm freestyle to address imbalances, catch-up drill to lengthen your stroke, or vertical kicking at high resistance to build leg power. The swim jet’s adjustable nature means you can progress from technique-focused work at gentle speeds to race-pace efforts at full power within a single session, making it a genuinely powerful solution for swimmers at every level who want measurable improvement without leaving home.
Maintenance, Troubleshooting, and Accessing Customer Support
Keeping your swim jet in top condition requires consistent but straightforward maintenance. Every two weeks, inspect the intake screens and remove debris like leaves, hair, or calcium buildup that restricts water flow. Check plumbing connections quarterly for signs of leaks or corrosion, and lubricate any O-rings with silicone-based grease to maintain proper seals. If you notice reduced current output, the most common culprits are clogged filters or air trapped in the pump housing—clearing the filter basket and bleeding the air valve typically restores full performance within minutes. Unusual noises often indicate loose mounting hardware or worn bearings, both of which should be addressed promptly before they cause further damage. For electrical issues like tripped breakers or unresponsive controls, verify GFCI function and inspect wiring connections for moisture intrusion before resetting the system. When problems exceed basic troubleshooting, the iGarden support team provides technical guidance through multiple channels, helping you diagnose issues remotely or connecting you with qualified local technicians for hands-on repairs. Maintaining a simple log of service dates and observations helps identify patterns early and keeps your system running reliably season after season.
Transform Your Pool Into a Complete Aquatic Training Center
Installing a swim jet transforms your existing pool from a limited soaking space into a complete aquatic training and recreation center. Throughout this guide, you’ve seen how proper preparation—assessing pool compatibility, gathering materials, and addressing electrical requirements—sets the stage for a smooth installation. The step-by-step mounting, plumbing, and electrical process ensures your system delivers reliable, powerful performance from the first swim. Once operational, your swim jet opens up structured training possibilities that rival dedicated lap pools, from interval workouts and stroke-specific drills to gentle family recreation at lower settings. Regular maintenance keeps the current flowing strong for years, and support resources are available when you need them. A quality swim jet represents a practical investment that pays dividends in fitness, enjoyment, and property value every time you step into the water. Now is the time to take action—review your pool setup, plan your installation, and start swimming with purpose. Bookmark this guide as your ongoing reference, and look forward to countless seasons of better, more rewarding swimming right in your own backyard.